
I have been doing some flutter development on my Mac Intel for a while but not too long ago, I bought my Macbook Air M1 and tried to set up my Flutter environment.
My initial attempt was full of issues and I decided to document my process of fixing the issues and getting the environment up and running.
The first thing I did was to install flutter. There are two ways of doing this. The first option is to download the installation bundle which is a zip file. The other option is to clone directly from Flutter's Github repository.
git clonehttps://github.com/flutter/flutter.git-b stable
I decided to download the zip file, unzipped it and added the path to my .zshrc file
cd ~/dev
$ unzip ~/Downloads/flutter_macos_2.5.3-stable.zip
 export PATH="$PATH:`pwd`/flutter/bin"
The next thing was to run flutter doctor. My first run highlighted missing android command line tools.
[!] Android toolchain - develop for Android devices (Android SDK version 30.0.3)
✗ cmdline-tools component is missing
✗ Android license status unknown.
Run `flutter doctor --android-licenses` to accept the SDK licenses.
See https://flutter.dev/docs/get-started/install/macos#android-setup for more details.
The easiest way to solve this problem is to install Android Studio. Once installed, open and go to SDK Manager. Select Android SDK on the left hand side
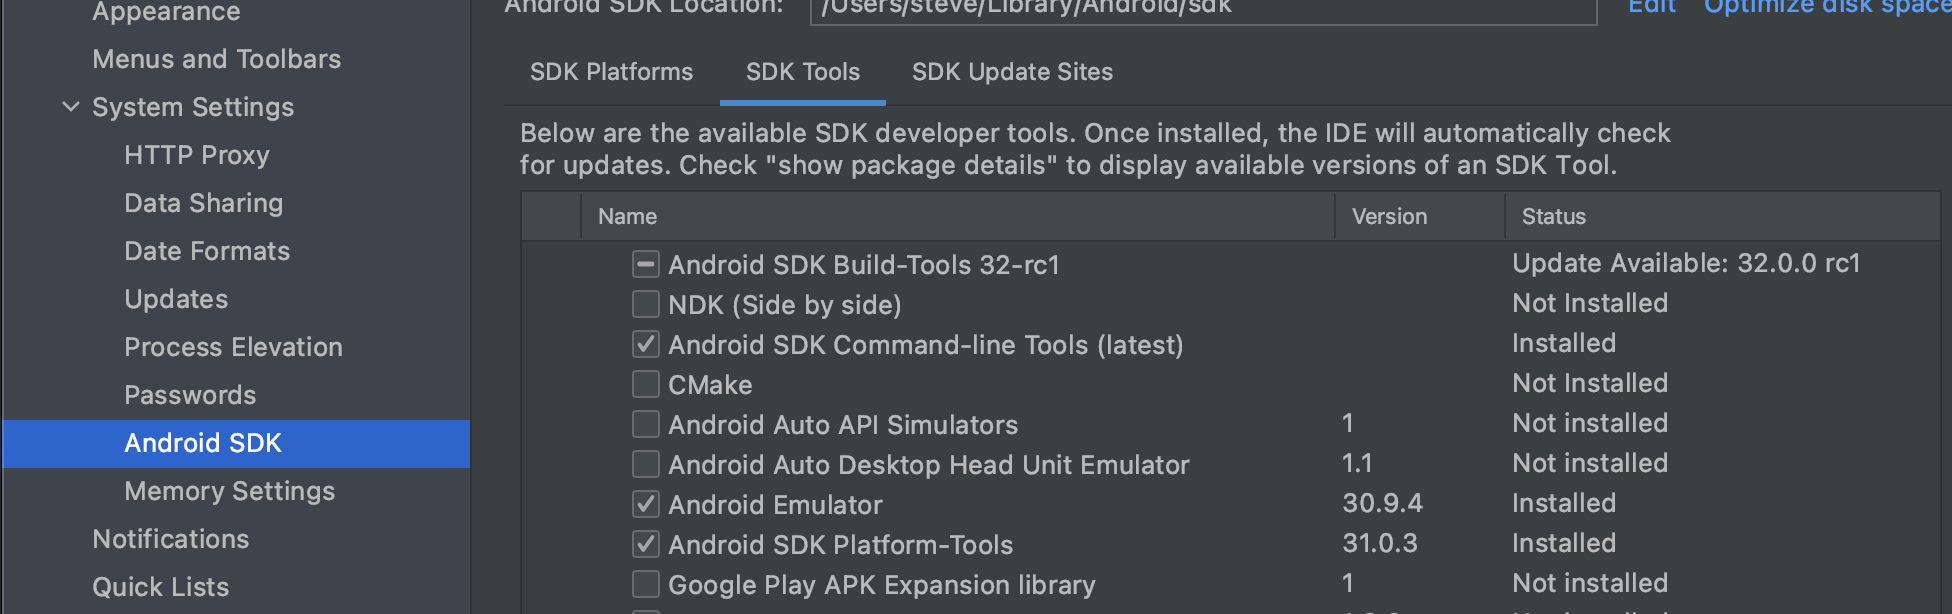
Click on Android SDK Command-line Tools (latest) and click on the checkbox to download and install it. One it is installed, if you run flutter doctor again, it will show "Android license status unknown error". To resolve this, run the following in the command line,
flutter doctor --android-licenses
When I got past this, I hit another issue. This time, it was Java. The line highlighted in flutter doctor was
✗ Unable to find bundled Java version.
I visited the Java website but apparently there was no ARM compatible version. After some research, I found some alternatives sources where I could obtain ARM compatible JDK. I did later find out that Java took care of M1 compatible Java in version 11 but at this time I wanted to install Java 8 so I visited this site and got it https://www.azul.com/downloads/?os=macos&architecture=arm-64-bit&package=jdk
Once installed, set the JAVA_HOME path
export JAVA_HOME=/Library/Java/JavaVirtualMachines/zulu-8.jdk/Contents/Home/jre
At this point, it looked like everything was all good until I ran flutter doctor again and saw the following issues;
Warning: CocoaPods not installed. Skipping pod install.
  CocoaPods is used to retrieve the iOS and macOS platform side's plugin code that responds to your plugin usage on the Dart side.
  Without CocoaPods, plugins will not work on iOS or macOS.
  For more info, see https://flutter.dev/platform-plugins
The suggested solution was to install cocoapods, no problem, so I ran,
sudo gem install cocoapods
That triggered a whole lot of errors. After several researches again, it turned out the way to solve this was to install my own version of ruby instead of the using the system one. I therefore decided to install rbenv which would enable me install and use any version of ruby. Once installed, I ran sudo gem install cocoapods again and voila!
This time I ran flutter doctor again and everything showed okay on all steps! Phew, that was a journey and I hope it helps someone else embarking on the same route.